Last updated: November 20, 2026
Key Takeaways
- Set up one receipt system before travel so family receipts, confirmations, and refund records stay together.
- Keep the receipts tied to money you may need to reclaim, dispute, or prove.
- Use one digital folder, one backup copy, and one paper pocket file if you want a physical trail.
- Log each reimbursement or refund with its receipt number, amount, date, and status.
A messy stack of family trip receipts can turn a refund or return into a scavenger hunt. How to Organize Family Trip Receipts for Reimbursements and Returns starts with pairing every receipt with its email confirmation, photo backup, and refund record. The steps below settle what to keep, where to store it, and how to find proof fast when a charge is questioned.
Build one travel receipt system before you leave

A travel receipt system helps keep receipts, email confirmations, and refund records in one place before they scatter across bags and inboxes. Start it before the first purchase, or you’ll spend the trip rebuilding the paper trail from memory.
Picture this: you’re standing at a counter with a return window open, a clerk asking for proof, and three adults searching three phones. The fix is a single folder system with one rule set and one place for everything. Use a cloud folder, a receipt app, or both. Pick one method and stick to it for the whole trip.
A simple setup works best:
- One master folder for the trip name and dates, such as
Smith Trip June 2026. - Three subfolders:
Receipts,Email Confirmations, andRefunds. - One naming rule for files:
2026-06-14_airbnb_deposit_248.00.jpg. - One backup copy in cloud storage and one on a phone or tablet.
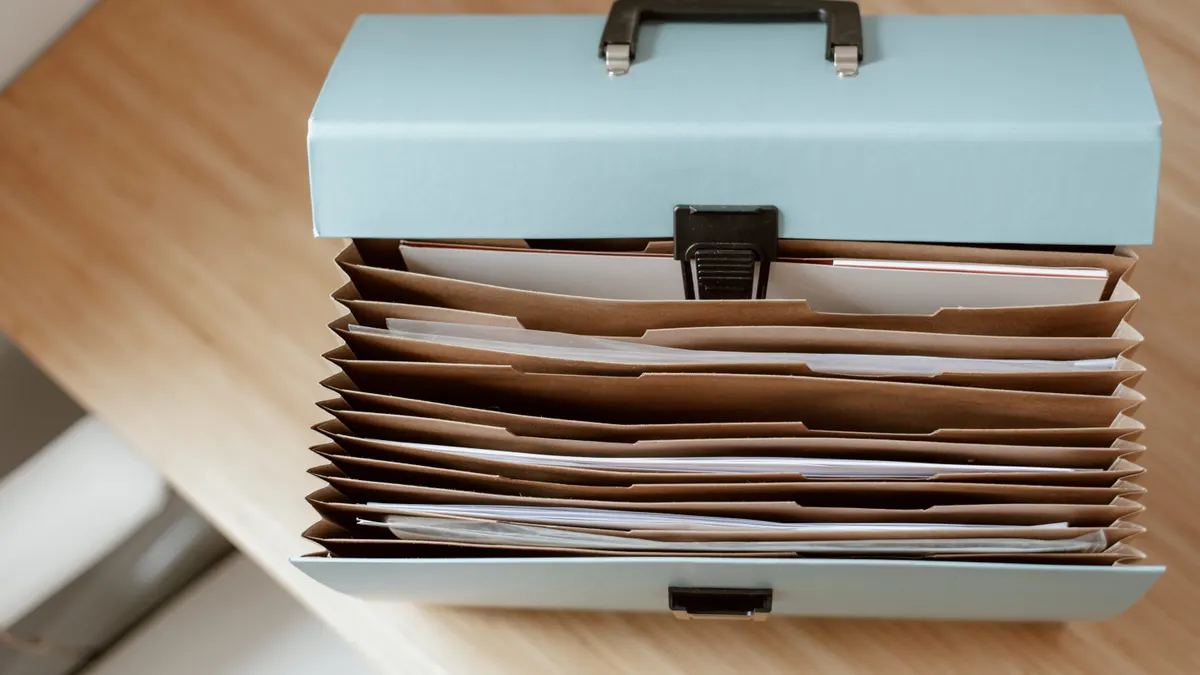
If you want a paper folder too, use a zip pouch or accordion file. A paper folder can help with quick handoffs, but it can get crushed in a carry-on, and water damage is always a risk. Digital storage is better for search. Paper is better for the one receipt that gets shoved in a pocket and forgotten.
This setup also handles exchange proof. If a store, tour desk, or airline wants the original receipt plus the card charge, you already have both in the same place.
What receipts matter for a family trip?
The receipts that matter are the ones tied to money that may be reimbursed, refunded, or disputed. Keep the obvious ones—lodging, transport, tours, parking, meals with separate tabs, and any prepaid booking—but also save the small slips that often get ignored. A $12 baggage fee can matter as much as a hotel deposit if it needs to be returned.
Picture this: you buy a ticket, check in, and later the charge posts twice. If you only saved the confirmation email, you may still need the actual receipt or card slip to show the merchant what happened. Email confirmations tell you what was booked. Receipts tell you what was charged. Keep both.
Save these items every time:
- Purchase receipts from stores, counters, and kiosks.
- Email confirmations for bookings, deposits, and prepaid tickets.
- Refund notices showing the amount, date, and method of return.
- Exchange proof for swapped items, such as size changes or replacement gear.
- Card slips or digital charge screens for anything that may be disputed later.
A generic article often stops at “keep your receipts.” That misses the real risk: returns and reimbursements usually hinge on matching three things—what you bought, when you bought it, and how the money moved back. A refund record without the original receipt is weak. A receipt without the refund notice leaves you guessing whether the return cleared.
If the item or charge could need proof within 30 days, save it. That window covers many store returns and most post-trip reimbursements. If the seller gives a shorter policy, follow that date instead.
How do you store travel receipts for reimbursements and returns?
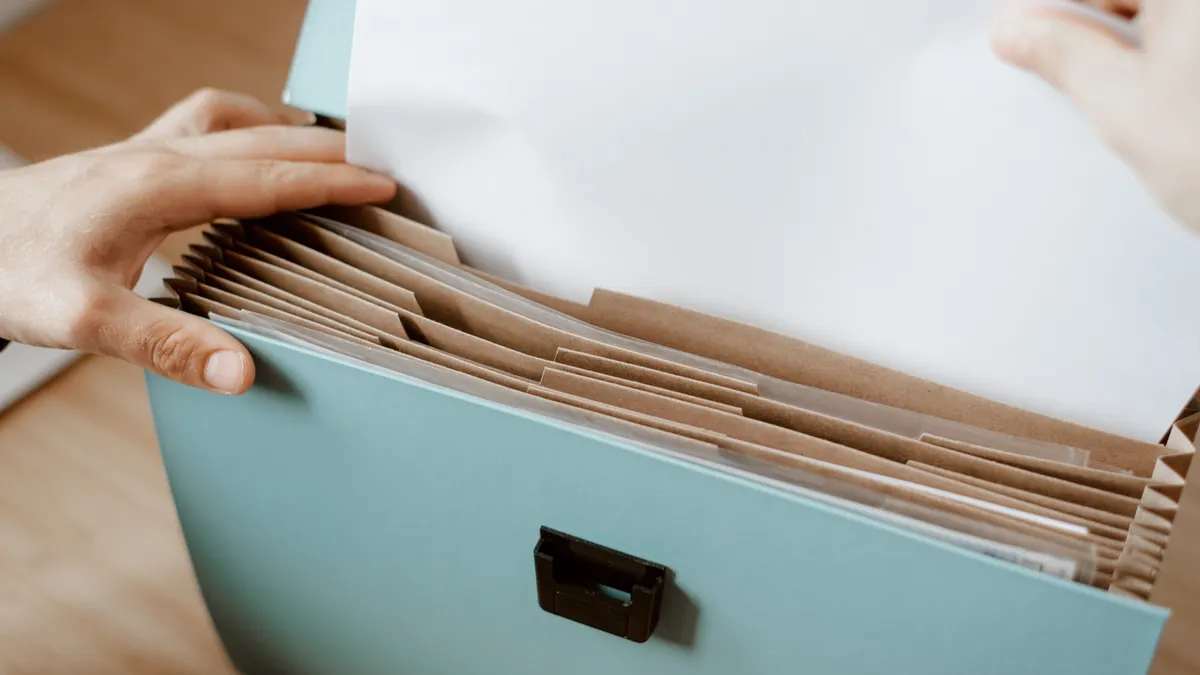
Store travel receipts in one digital folder, one backup copy, and one paper pocket file if you need a physical trail. That gives you search, safety, and a quick handoff when someone else needs the paperwork.
Picture this: you’re at a desk after the trip, sorting a dozen screenshots, four paper slips, and two email threads. The answer is not to sort by memory. Sort by document type and date. That cuts the time you spend looking for one charge later.
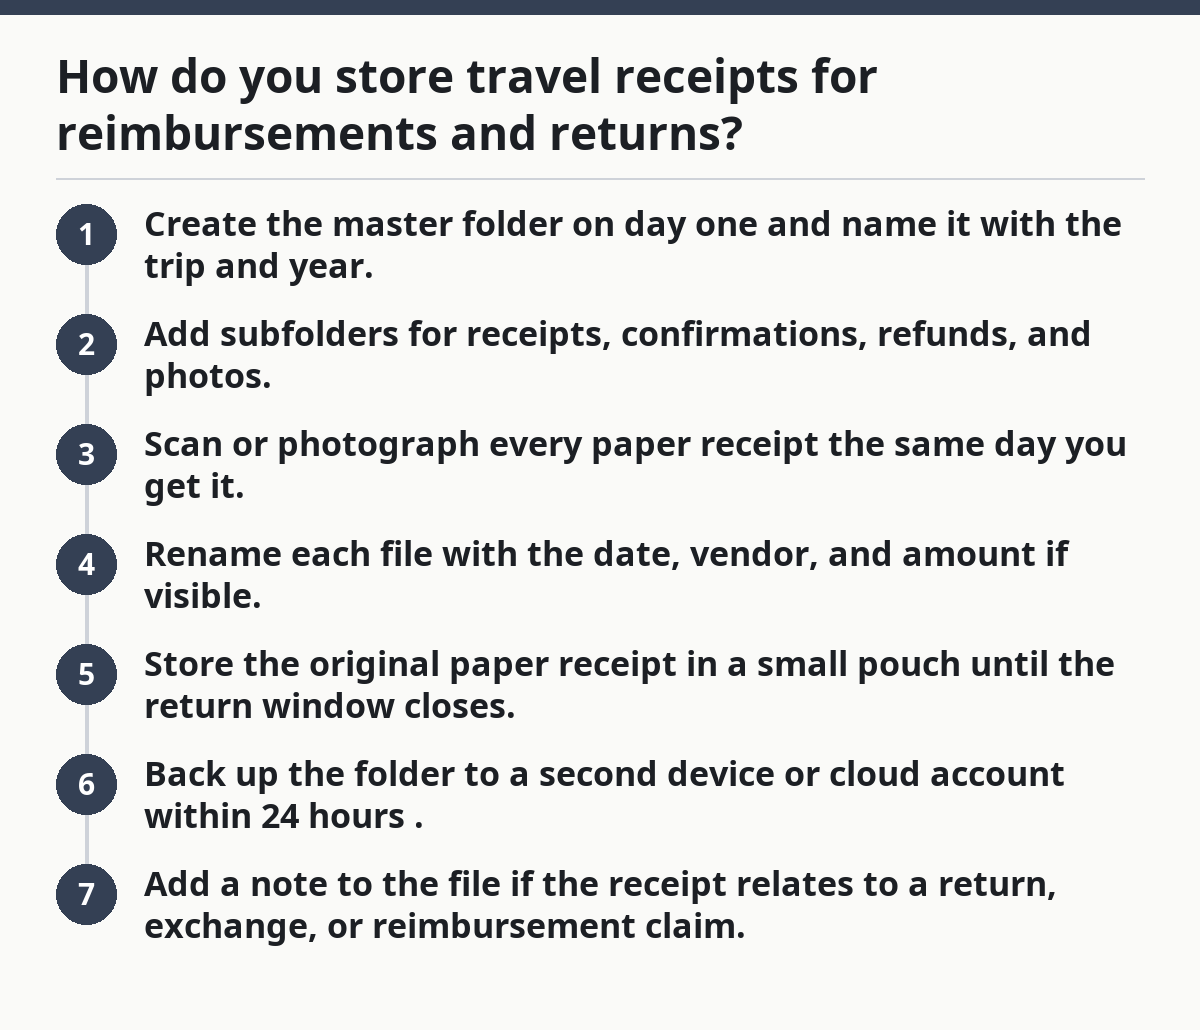
Use this order:
- Create the master folder on day one and name it with the trip and year.
- Add subfolders for receipts, confirmations, refunds, and photos.
- Scan or photograph every paper receipt the same day you get it.
- Rename each file with the date, vendor, and amount if visible.
- Store the original paper receipt in a small pouch until the return window closes.
- Back up the folder to a second device or cloud account within 24 hours.
- Add a note to the file if the receipt relates to a return, exchange, or reimbursement claim.
For receipt apps, pick one that exports files in a common format and lets you search by merchant name or date. Don’t depend on a single app with no export path. Apps can fail, phones get replaced, and travel Wi‑Fi can be unreliable. A folder you can open on any device is safer than a locked app with no clean backup.
Photo backup matters because thermal receipts fade fast and creased paper becomes unreadable. Take the photo on a flat surface in good light. Capture the full edges. If the total, date, or merchant name is cut off, the photo is weak evidence.
How should you track reimbursements and refunds?
Track reimbursements and refunds in one running list that shows the receipt number, amount, date, and status. That list is the difference between “I think this was returned” and “I know it was returned.”
Picture this: a refund shows up as a pending card credit, then disappears, then posts again three days later. If you don’t record the first notice, you’ll waste time checking the same charge twice. A simple log solves that.
Use a basic spreadsheet, notes app, or ledger with these columns:
- Date purchased
- Vendor
- Amount
- Receipt file name
- Refund or reimbursement status
- Date refunded
- Method such as card, cash, or gift card
- Notes for partial returns, store credit, or exchanged items
Keep the log current. Update it the same day you submit a reimbursement request or receive a refund email. If the return is partial, record both amounts. If the merchant gives store credit instead of cash back, note that clearly. A “refunded” status is not the same as “money back to the original card.”
Here’s the catch: many people track only the receipt and forget the follow-up record. That fails when the return is split across two dates or when a merchant issues credit in pieces. A single line in a refund log can help reduce that confusion, and if a claim is complicated, consider checking with the merchant, insurer, or card issuer.
For disputes, save the card statement image, the receipt, the confirmation email, and any message thread with the merchant. The receipt shows the charge. The statement shows the posted transaction. The message thread shows what the merchant agreed to do. Together, they form a clean paper trail.
What’s the best way to handle exchange proof?
The best way to handle exchange proof is to keep the original receipt, the exchange receipt, and the reason for the swap together in the same folder. An exchange is not a return, and the paperwork often looks different.
Picture this: one child’s shoes are the wrong size, and the store swaps them for another pair without issuing cash back. If you toss the first receipt, you lose the link between the original item and the replacement. Keep both records.
Mark exchange records with three things:
- Original item
- Replacement item
- Store policy if the staff prints it on the slip
If the merchant gives you a new receipt with no link to the old one, write the connection in your notes the same day. For example: “Returned blue sandals, exchanged for size 2 black sandals, same store, same date.” That note is small, but it saves a lot of guessing later.
Exchange proof matters outside the store too. Rental gear, excursion add-ons, and ticket changes can all create a paper trail that looks messy if you do not label it. A receipt app alone will not tell the full story unless you add the note yourself.
The truth is, exchange paperwork is where many family trip systems fall apart. The bill gets paid, the item gets swapped, and nobody remembers what changed. A clear note beside the receipt closes that gap.
Common mistakes that cost you money or time
The biggest mistake is waiting until the end of the trip to sort receipts. That turns a five-minute scan into a half-hour hunt, and faded paper can become unreadable before you get home. Save the item the same day or lose the detail.
Picture this: you return from dinner and toss four receipts into a tote, promising to deal with them later. Later comes with wet swimsuits, airport lines, and a dead phone battery. The fix is boring but effective: handle each receipt once.
Other mistakes to avoid:
- Keeping only the email and skipping the actual receipt.
- Saving photos with no labels, which makes searching useless.
- Mixing all trips in one folder, which creates bad cross-file searches.
- Throwing away paper too soon, before the return window closes.
- Ignoring partial refunds, which leaves your totals wrong.
The cost is not just clutter. It is lost reimbursements, missed return windows, and hours spent proving a charge that should have been settled in minutes. If you share the trip with another adult, agree on one storage rule before the first purchase. Without that, two people will save the same receipt in two places and still fail to find it.
What a clean system looks like after the trip
A clean system after the trip leaves you with one folder, one log, and a clear status on every receipt. You should be able to open the folder and answer three questions in under a minute: what was bought, whether it was returned, and whether the money came back.
Picture this: a month later, a charge appears on a statement and you need proof fast. With a clean system, you search the vendor name, open the receipt, check the refund record, and settle the question. Without it, you start digging through photos and inboxes from scratch.
At minimum, keep the finished file for 90 days after the trip ends. That gives you time for late-posting refunds, disputed charges, and any return that drags on. If a merchant’s policy or your card issuer’s timeline is longer, keep the record longer.
Before you archive it, check for these pieces:
- Final receipt scans
- Email confirmations
- Refund notices
- Exchange notes
- Card statement images
- Any message thread about a dispute
That archive is your final proof set. If you ever need to chase a missing reimbursement, you won’t be rebuilding the file from scratch. You’ll already have the answer.
How should you store travel receipts?
Store them in one named folder with subfolders for receipts, confirmations, refunds, and photos, then back that folder up within 24 hours. A paper pouch can help for the short haul, but digital storage is easier to search and harder to lose. Keep original slips until the return window ends.
What receipts matter for a family trip?
Keep any receipt tied to a charge you may need to prove later: lodging, tickets, transport, meals with separate checks, deposits, store returns, and exchange slips. Save the email confirmation too, because it often shows the booking terms. If a charge could be questioned in the next 30 days, keep it.
How do you track receipts for reimbursements?
Track them in a simple log with the date, vendor, amount, file name, and refund status. Update it the same day you get a refund email or submit a reimbursement request. That record stops you from mixing up partial refunds, store credit, and charges that are still pending.
Drafted with AI; not yet reviewed by a person.