Last updated: November 19, 2026
Packing a road trip snack system for How to Pack Snacks and Drinks for a Family Road Trip Without Overbuying keeps you from buying gas-station junk every 90 minutes.
Pack by trip length, not by appetite.
The steps below show how to size the cooler, portion snacks, refill drinks, and use rest stops so you buy what you need once.
Key Takeaways
- Build the snack plan around the drive, not the pantry.
- Use a cooler for cold items and snack bags for dry portions.
- Send each person off with a refillable water bottle before you leave.
- Pack a few extra servings, not a second grocery run.
- Plan rest stop food around a clock, not random cravings.
- Keep one “backup” snack bag out of reach until the last leg.
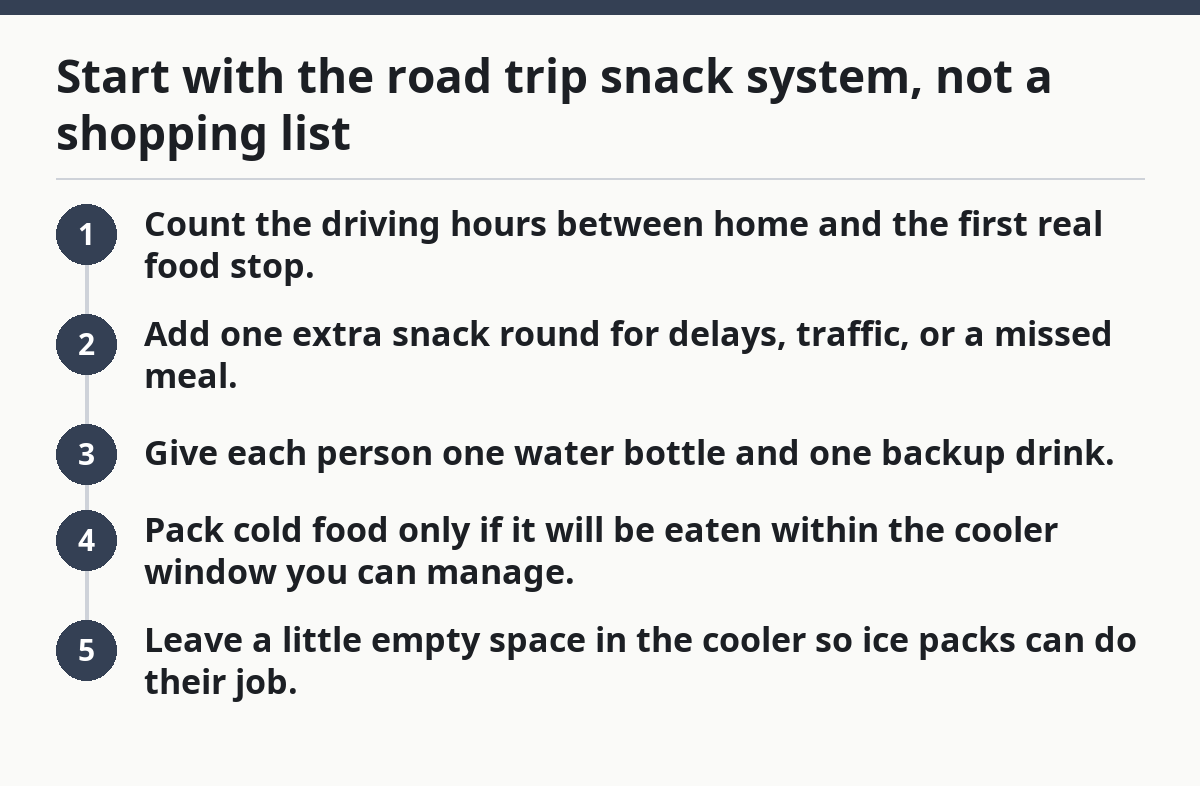
Start with the road trip snack system, not a shopping list
Picture this: you’re leaving at 7 a.m., the kids are hungry again by 9:30, and the first shiny bag of chips at the stop looks like a deal until you’ve bought three more things you never planned to get. A road trip snack system stops that chain reaction before it starts.
The point is simple: pack for the hours you’ll actually drive, the places you can refill, and the foods that survive the car. That usually means one cooler, one dry-snack bag, and one water bottle per person. You are not building a mini pantry. You are building a tight supply kit.
Here’s the catch: overbuying usually starts with vague planning. If you tell yourself “snacks for the trip,” you’ll pack enough food for a weekend. If you say “breakfast, lunch, and two in-between snacks,” the numbers get real fast. That shift saves money because it cuts duplicates, not because you found a magic coupon.
Use this first-pass count:
- Count the driving hours between home and the first real food stop.
- Add one extra snack round for delays, traffic, or a missed meal.
- Give each person one water bottle and one backup drink.
- Pack cold food only if it will be eaten within the cooler window you can manage.
- Leave a little empty space in the cooler so ice packs can do their job.
This method also cuts waste. A half-eaten sandwich and three loose crackers in the car turn into trash fast. A planned pack keeps the food in containers you can actually use.
For broader trip budgeting, this fits under the larger budget family trip planning approach without turning this page into a full trip-cost guide. For general food-safety guidance, the USDA recommends keeping cold food at 40°F or below and using coolers with enough ice or gel packs to hold that temperature, especially on longer drives. USDA cold food storage guidance
How much food should I pack for a family road trip?
You should pack enough for the meals you’ll skip and the snack gaps you know will happen. For most drives, that means a meal plan plus one backup snack round, not a full day’s worth of extra food.
Picture this: you’ve got two adults and two kids, a 5-hour drive, and a lunch stop you think will happen “around noon.” If lunch slips by 90 minutes, the car becomes the dining room. That is where overspending starts, because the first stop after hunger hits is usually the most expensive stop.
Use this simple packing rule:
- Pack one meal if the drive crosses a meal time and you’re not stopping for a sit-down meal.
- Pack one snack per person per 2–3 hours of driving.
- Add one shared backup snack for delays.
- Bring enough drinks for the first stretch, then plan refills at rest stops.
What matters here is not the exact calorie count. It’s the shape of the day. A short morning drive needs much less than a long day with no good food stops. If you have kids who graze, split snacks into smaller bags instead of opening a full box in the car. A box of crackers can disappear in 15 minutes if every hand dives in at once.
The food itself should be easy to portion: fruit, crackers, pretzels, cheese sticks, trail mix, sliced vegetables, muffins, or sandwiches that can sit safely in the cooler. Avoid buying large “share-size” bags unless you are willing to re-portion them before you leave. Big bags look cheaper until they vanish.
What to put in the cooler first
Cold food goes in first because it needs the coldest space. Put ice packs on top and around the sides, then place the most perishable items near the center. The result is less thawing and less cleanup from melted ice.
A practical cooler order looks like this:
- Ice packs or frozen water bottles on the bottom.
- Yogurt, cheese, meat, cut fruit, or sandwiches in sealed containers.
- A second layer of ice packs on top.
- Drinks only if you have space left.
- A small towel or cloth on top if the cooler opens a lot during the day.
Do not fill the cooler with random loose items. Loose food rolls, gets crushed, and becomes “mystery lunch.” Use containers that stack. If you need lunch for four people, pack four labeled portions instead of one giant mixed tub.
What snacks are best for kids in the car?
The best car snacks for kids are small, low-mess, and easy to hand out one bag at a time. That usually means dry finger foods and a few cold items in the cooler, not sticky treats that melt onto seat belts.
Picture this: you’re 40 minutes into the drive and someone asks for “something good,” which is a trap phrase if you packed only one giant bag of snacks. Small portions solve that problem because you control the pace. You also control the spending.
Good car snacks usually fall into three groups:
- Crunchy: pretzels, crackers, dry cereal, rice cakes.
- Soft: muffins, banana bread, peeled fruit, cheese cubes.
- Cold: yogurt pouches, string cheese, hummus cups, cut fruit from the cooler.
A good rule is to pack two textures per snack round. If one item is sweet, make the second one plain. If one item is cold, make the second one shelf-stable. That keeps the snack from feeling too small without turning it into a junk pile.
Here’s what gets people in trouble:
- Buying oversized bags because they look cheaper.
- Packing snacks with loose crumbs that end up in every seat.
- Bringing sticky candy that turns into a cleanup job.
- Stashing all the food in one place so the kids can see everything at once.
Use snack bags, not open containers. Put one serving in each bag and keep the rest out of sight. When the bag is empty, that round is done. This is the easiest way to stop overbuying at the first stop because the car doesn’t feel half-empty after ten minutes.
If you want a simple target, pack three snack rounds for a long day: one for the first stretch, one after a rest stop, and one for the late drive. If the route is shorter, cut that down. Don’t pack for the version of the day where everyone is hungriest and bored at the same time. For safe child-feeding advice, check with your pediatrician if a child has allergies, swallowing concerns, or dietary restrictions, and review HealthyChildren.org for age-appropriate snack ideas.
How do I avoid overspending on road trip food?
You avoid overspending by deciding what food comes from home and what food is allowed to come from a stop. That boundary matters more than any bargain bin at the register.
Picture this: you planned for two snack stops, but then you wander the cooler aisle and add drinks, fruit cups, jerky, gum, and pastries. Suddenly the road trip food bill looks like a hotel breakfast tab. The fix is simple: make the purchase rules before you leave.
Use these rules:
- Buy drinks in advance if the route has few good refill options.
- Buy snacks in bulk only if you will re-portion them into snack bags.
- Do not buy convenience foods that duplicate what’s already packed.
- Keep one snack category for the car and one for stops.
- Set a hard limit on impulse items at each stop.
The truth is, most overspending comes from duplicates. You already packed fruit, then you buy fruit cups. You already packed crackers, then you buy chips. You already packed water bottles, then everyone wants a cold bottle from the store. The bill grows because nothing feels like a big purchase in the moment.
Rest stop strategy that saves money
Rest stops work best when they are for refills, bathroom breaks, and a fast reset—not a full second grocery trip. Plan to use them every 2 to 3 hours if the trip is long enough, and use that stop to refill bottles, stretch, and eat one planned snack.
A tight rest stop strategy looks like this:
- Eat the snack you packed before you enter the store.
- Refill water bottles from the cooler or fountain if available.
- Buy only what was missing from the plan.
- Leave the checkout lane with the same list you walked in with.
If you know a rest stop has food courts or gas-station shelves that tempt the whole car, skip browsing. Go straight to the bathroom, refill the drinks, and leave. That is not being strict for its own sake. It is protecting the budget you already set.
For simple road-trip math, this rule saves the most money: one planned snack stop beats three random snack stops. Random stops are where you pay for hunger, boredom, and convenience all at once.
What should go in the cooler and what should stay out?
The cooler should hold anything that can spoil, crush, or leak, while dry snacks should stay outside it in sealed bags. That split keeps the cooler usable and keeps you from opening it every 10 minutes.
Picture this: you packed the cooler full of drinks, then had nowhere for the sandwiches, then had to shove them into a tote bag on the floor. That’s how food gets warm, stepped on, or forgotten. A cooler works best when it has a clear job.
Put these in the cooler:
- Sandwiches and wraps
- Cheese sticks
- Yogurt
- Cut fruit
- Veggie cups
- Hummus or dip
- Cold drinks
Keep these out of the cooler unless you truly need them cold:
- Crackers
- Pretzels
- Trail mix
- Cereal
- Cookies
- Shelf-stable fruit snacks
A medium-size cooler can seem bigger than it is once ice packs and containers go in. Leave room for the lid to close without squashing everything flat. If the cooler is jammed to the top, ice does less work and food gets crushed. That is a bad trade.
One practical trick: pack cold food in lunch-size containers and put the most fragile items on top. Sandwiches under drinks are a mistake. So is putting soft fruit at the bottom where it gets mashed. Stack by weight, not by convenience.
If the drive is a full day, think in layers. What gets eaten first should sit near the top. What can wait goes deeper. That way you’re not digging through cold food for every snack handout.
How to portion drinks without buying too much
You avoid overbuying drinks by packing a refill plan, not a drink haul. For most road trips, that means refillable water bottles for each person, plus a small backup supply in the cooler.
Picture this: everyone wants a cold drink at the same time, and the only options are sports drinks, sodas, or giant bottles you didn’t plan to buy. If you brought bottles from home, the first stop becomes a refill break instead of a purchase break.
Here’s a simple drink system:
- Fill one bottle per person before departure.
- Freeze a few bottles or use ice packs in the cooler if you need extra cold water.
- Bring one backup bottle for each long stretch of the drive.
- Save sugary drinks for a planned stop, not every break.
That setup does two things. It keeps people hydrated, and it stops the “let’s just buy another drink” cycle. Drink costs add up quietly because the purchase feels small. Three or four extra bottles can cost more than the snacks you carefully planned.
If kids want variety, send them with a bottle they like and add one alternate drink in the cooler. Juice boxes, shelf-stable milk, or a sports drink can work, but they should be the exception, not the base plan. Water does the heavy lifting. The American Academy of Pediatrics also advises choosing age-appropriate drinks and limiting sugary beverages for children. HealthyChildren.org nutrition guidance
One last detail: keep the drink stash where adults can see it. If bottles get mixed into every bag, they disappear fast. If they stay in one cooler corner or one tote, the count stays honest.
The road trip snack system is boring on purpose
A good road trip snack system is plain, repeatable, and a little dull. That’s the point. It keeps you from buying too much, throwing away half-open food, and filling the car with random bags that cost more than the meal you skipped.
Picture this: you pull into a stop, open the cooler, and already know who gets what. No guesswork. No double-buying. No “we’ll just grab something” moment that turns into a receipt you regret.
Use the same structure every time:
- Cooler for cold food
- Snack bags for dry portions
- Water bottles for refills
- Rest stops for bathroom breaks and planned top-offs
The result is not just lower spending. It is fewer decisions on the road. That matters when everyone is tired and hungry.
If this trip is part of a broader budget plan, this page fits with the larger budget family trip planning approach and keeps the food part under control without turning it into a scavenger hunt. For more trip planning structure, see budget family vacation planning and family road trip checklist.
What if the road trip is longer than planned?
Pack one extra snack round and one extra drink round, then stop there. If the trip stretches longer than expected, use a rest stop or grocery stop to refill only what is missing. Do not start with a huge backup stash “just in case.” That is how the car becomes a pantry you carry and never finish.
What if there are picky eaters?
Pack one food they reliably eat in each category: one dry snack, one cold snack, and one drink. That gives you a fallback without buying three separate versions of everything. The goal is to reduce refusal at the stop, not to build a custom menu for every hour.
What if the cooler space is tiny?
Use more shelf-stable snacks and fewer cold items. A small cooler works best when it holds only the food that truly needs chilling. Keep the rest in a separate bag or tote so the cooler stays organized and easy to reopen.
Drafted with AI; not yet reviewed by a person.